I’m finally in revisions! Cue fanfare and vacations and winning the jackpot! Okay, maybe not, but it sure feels that awesome.
Until….I turn back around from my daydream and see this hulking beast of a manuscript staring back at me (one reason I took a break before jumping in to revisions). Does anyone else feel like once the draft is done you’ve just created some sort of horcrux with a mind and will of its own? No? Okay, moving on.
First things first, I knew I needed to get organized before I could even think about revising or even rereading my draft. So, I decided to share my process with you in the hopes that maybe you might like it or take something it from it. I’ll also be sharing each step of my revision process along the way in case you want to follow along.
Scenes
So, I write using Scrivener and at first, started treating it like Word and quickly realized how much I needed to adapt my organization to fit this new platform and the capabilities that it has. I’m fairly tech savvy, so I didn’t have a problem using Word, I just didn’t like it that much.
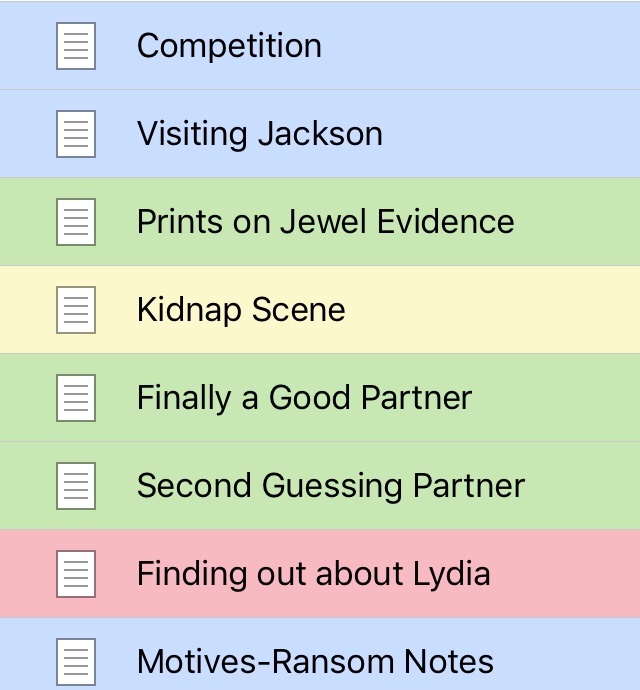
The best part about using Scrivener has been the ability to separate each scene of my story. At first, I had multiple POV characters and could even color code the different scenes in the menu on the left in order to track how often I was hitting on each character’s perspective. However, I still found this useful for when I took out all of those and went to a first-person, singular POV.
But when it came to revising, I didn’t just want to look at separate scenes, I knew I had plot holes that needed to be adjusted and scenes that needed to be moved around. I also didn’t want to do any permanent damage by just doing it right away, so I took a page from Susan Dennard’s book and turned to index cards.
While I haven’t used her whole strategy (which you can find HERE), I liked the idea that each scene, with a short description, could be put on an index card and then I could move things around as much as I wanted and play around with it without being tied to the actual words that I had written. All I did was write the title of the scene and a one sentence description. I use these pens because I like that they come in a variety of colors but write fairly thin so I have room to add a ton of stuff to each notecard. I can also color code types of scenes (action, reaction, climax, history, etc) or even by character POV, just like in Scrivener.

My book as index card stack 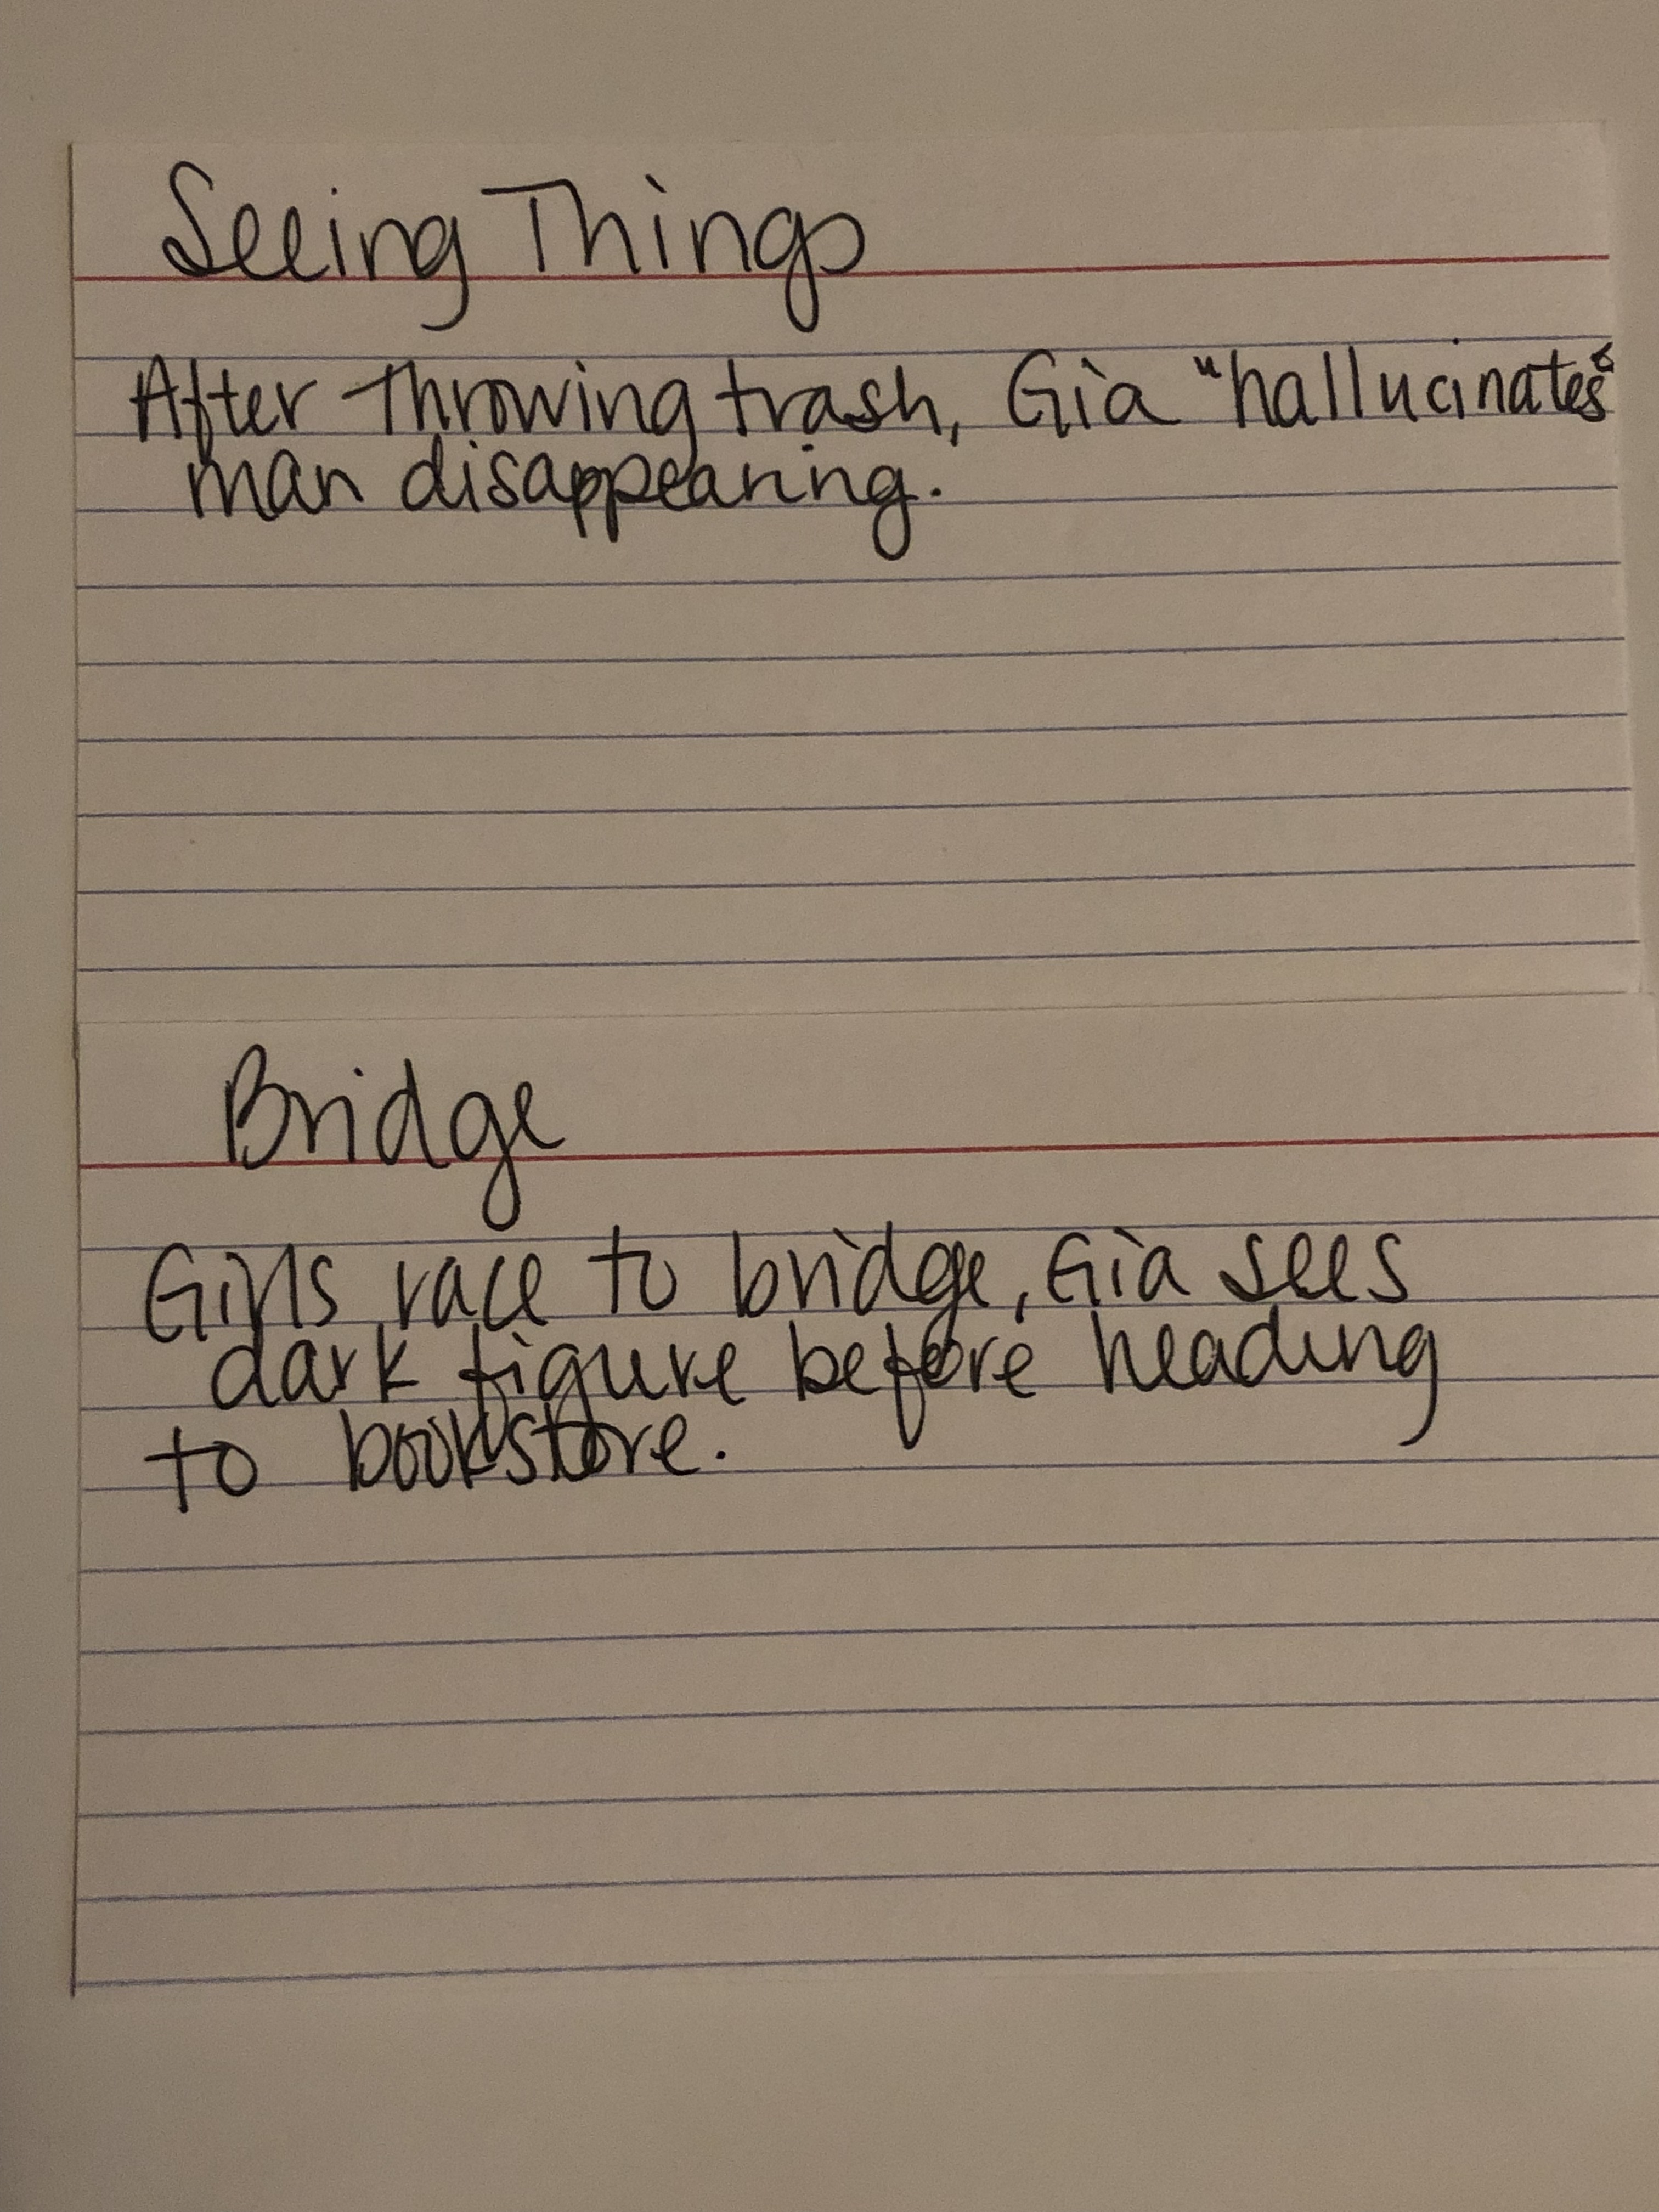
A few of my scene cards (since deleted/modified) 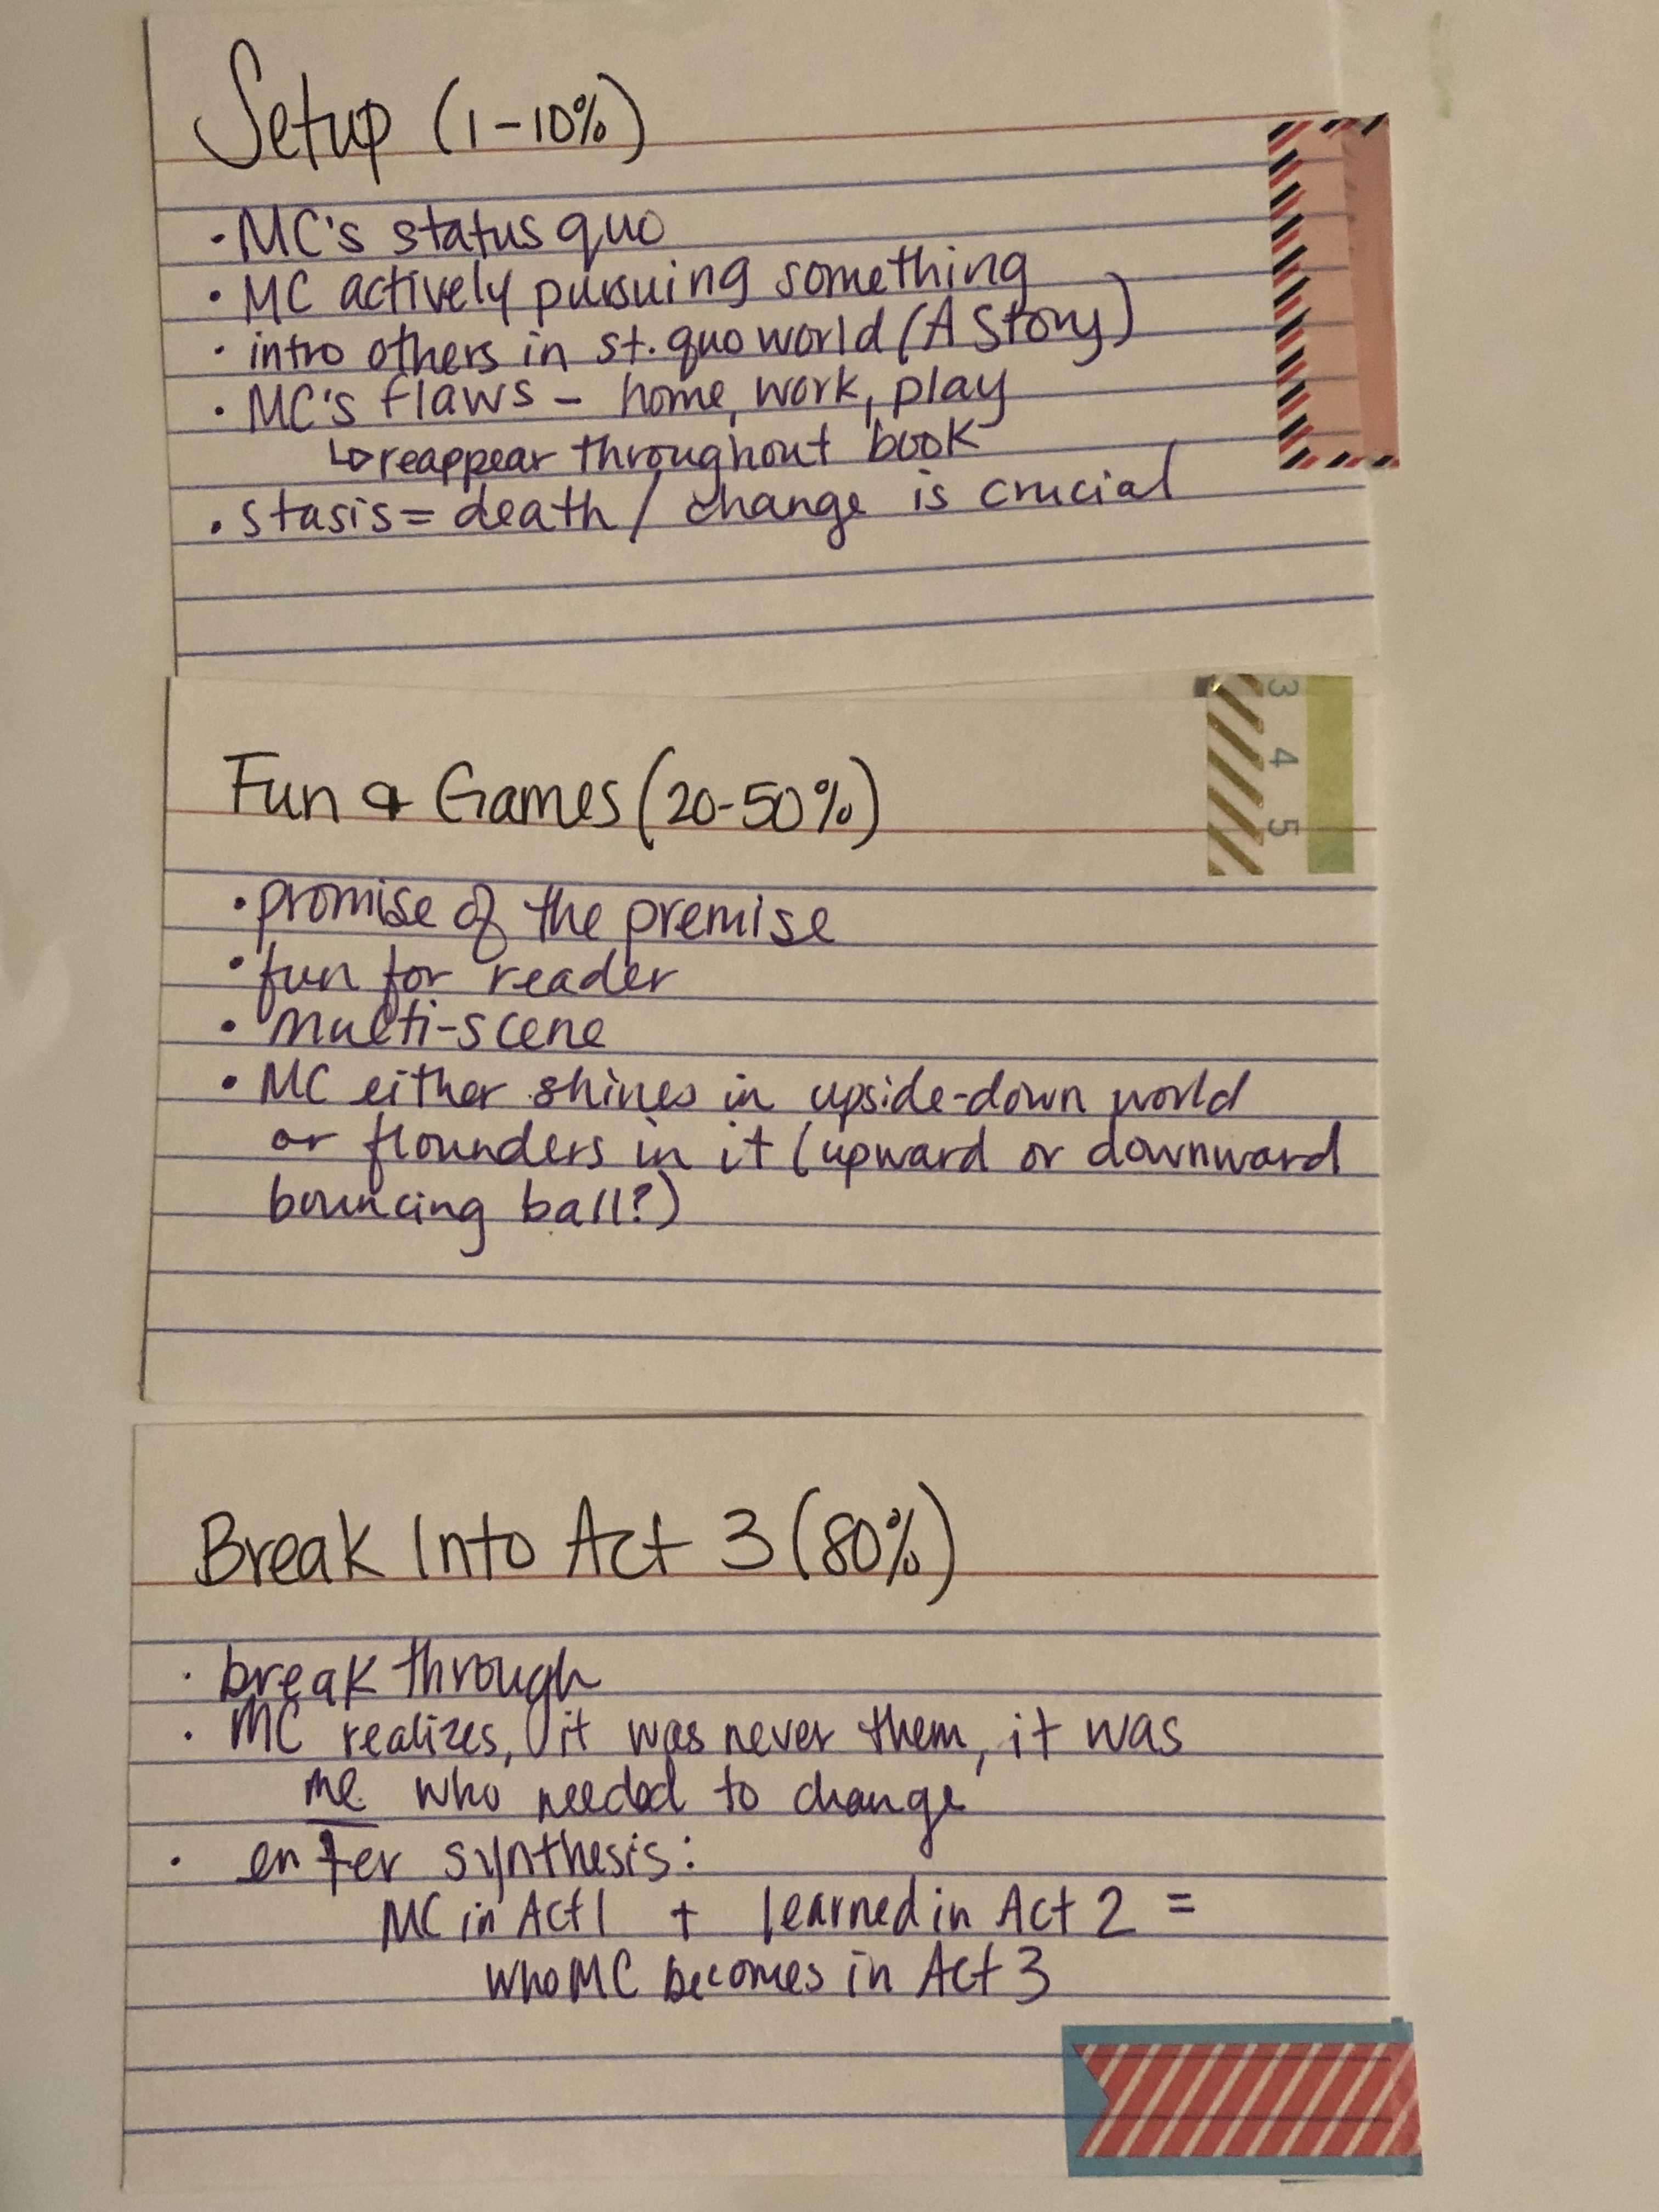
Examples of the beat index cards with different washi tape
Beats
Next, I recently read Save the Cat Writes a Novel! by Jessica Brody and absolutely fell in love with the beat sheet. So, I created one card for each of those beats as well. They include the name of the beat, the percentage of how far in the book it typically happens, and a brief list of things I wanted to remember. But how could I make these stand out from the other cards? Washi tape to save the day! I made the beats for Act 1 a certain type of Washi tape on the edge, and varied it up in location and style for the other two acts. This meant that I could see what percentage of cards were in any given act, which showed me some glaring problems that I’ll get to in a later post.
My Book as a Deck
Then, I inserted my beat notecards into my scene stack and voila! I had my book in card format, complete with markers that showed me where I transitioned from Act 1 to 2 to 3.
This has been super helpful because I can literally pull out a section at a time, move things around, and even lay them all out in front of me to see things from a bird’s eye view. I can also write on them, make notes, add in new cards or even split scenes into two cards and move them separately when I need to.
Added bonus: I can stick the whole stack in my purse or bag and work on it any time I find the time. Click here for some super cute index card holders, or just do what I do and use a rubber band!

Coming Soon:
Step 2: Creating a Hierarchy of Layers
My posts may contain affiliate links.

Leave a comment